Hey, floralpreneurs!
Have you ever wired a succulent for a bouquet? There are multiple ways to do this, I’m sure, but this is how I do it.
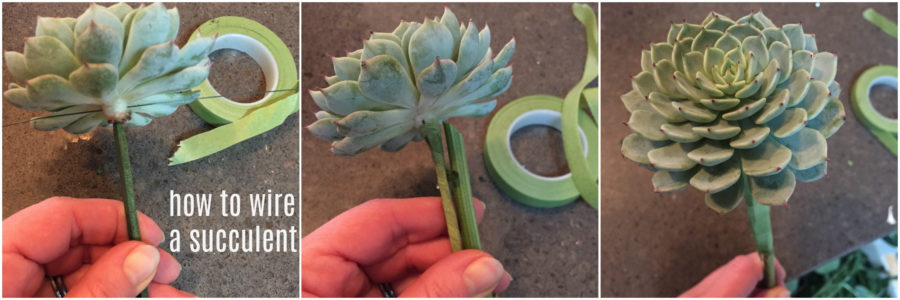
If you’ve never tried it before, I have a quick photo tutorial for you.
First, I insert one of those green, wooden florist picks into the base of the succulent. You will most likely have to remove a few of the bottom leaves from the succulent in order to grasp the super short stem. After I insert the pick, I add a wire, just as you would to a boutonniere, to secure the succulent to the pick.
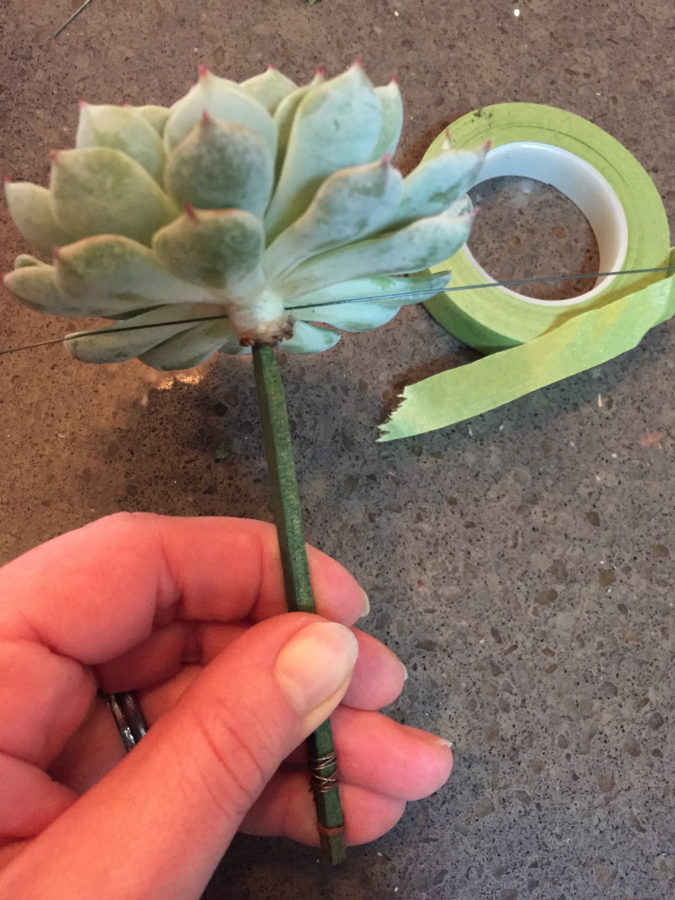
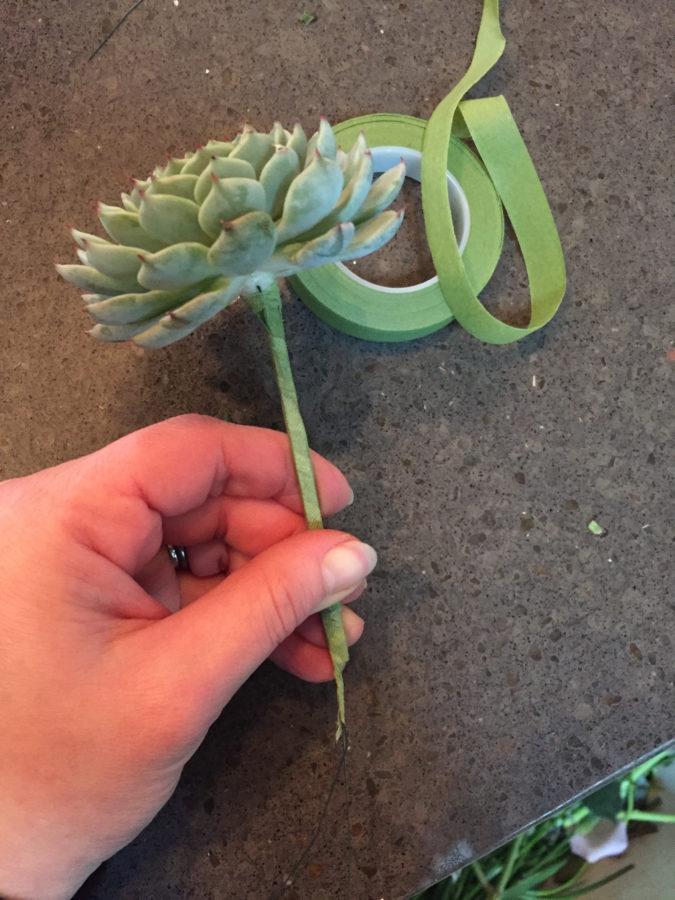
Then, tape it up, just like a boutonniere or a corsage.
Next, in order to add length to the succulent, I tape it to another stem. I usually use a discarded rose stem or in this case the stem of a mum. Tip: Always make sure the stem is facing the right way before you start to tape. You don’t want upside down rose stems in your bouquet….keep it fresh & profesh. Stems should be oriented in the right direction.
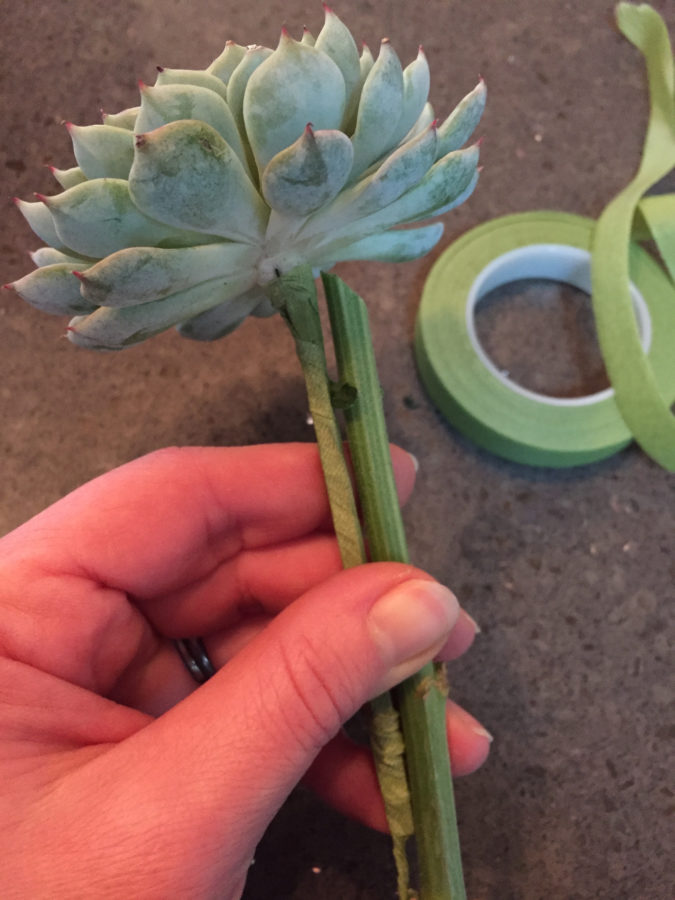
Here’s one of the best “taping tips” I ever learned: when you have something (like a succulent) that’s hard to grasp because it lacks a proper stem length, you can start the tape a little lower on the stem, and first wrap your tape up the stem, then tape back down again to secure the stem and cover the wire. This is particularly useful when taping foliage by the way such as seeded eucalyptus or anything you add a hairpin wire to for a bout or corsage. By first taping up, you can cover that little bit of wire that you may not have covered the first time around.
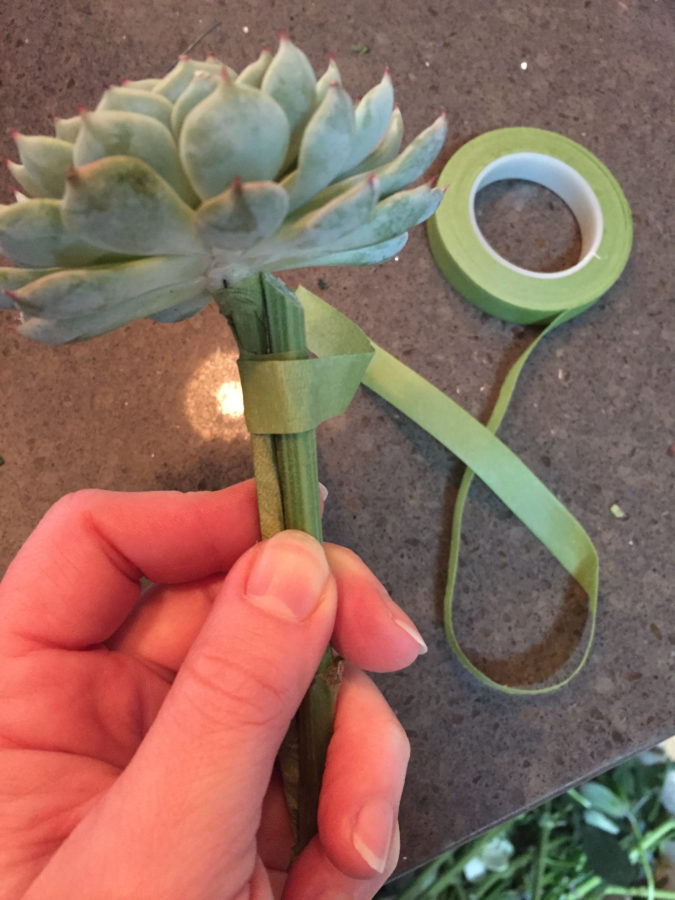
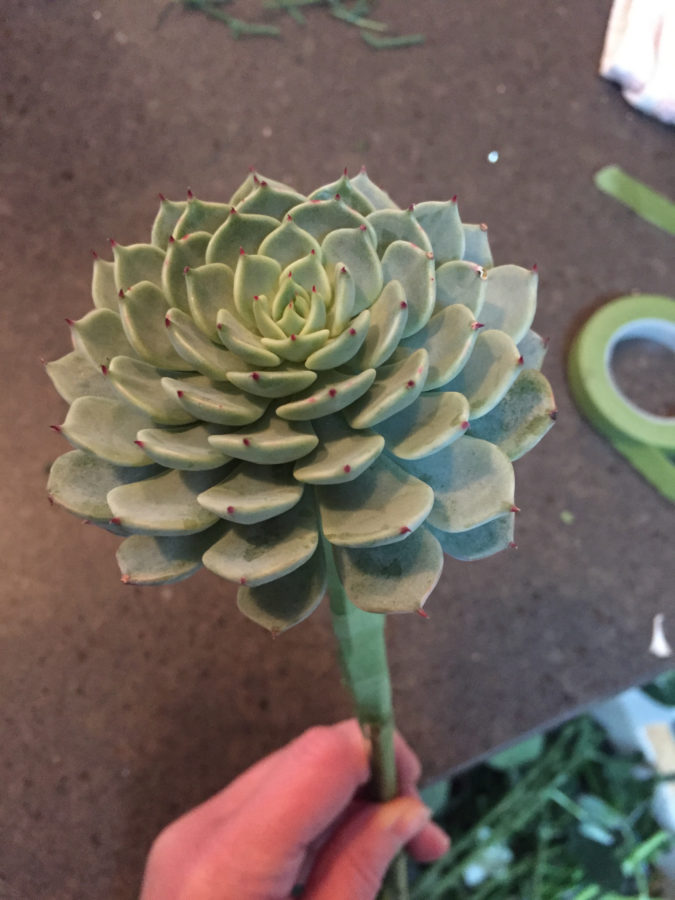
Here is the final result. The stem allows me to disguise the mechanics of the wire and also counterbalances the weight of the succulent. (You also won’t have to trim wires in the middle of the bouquet when it comes time to finish it! The wires are already dealt with in this step.)
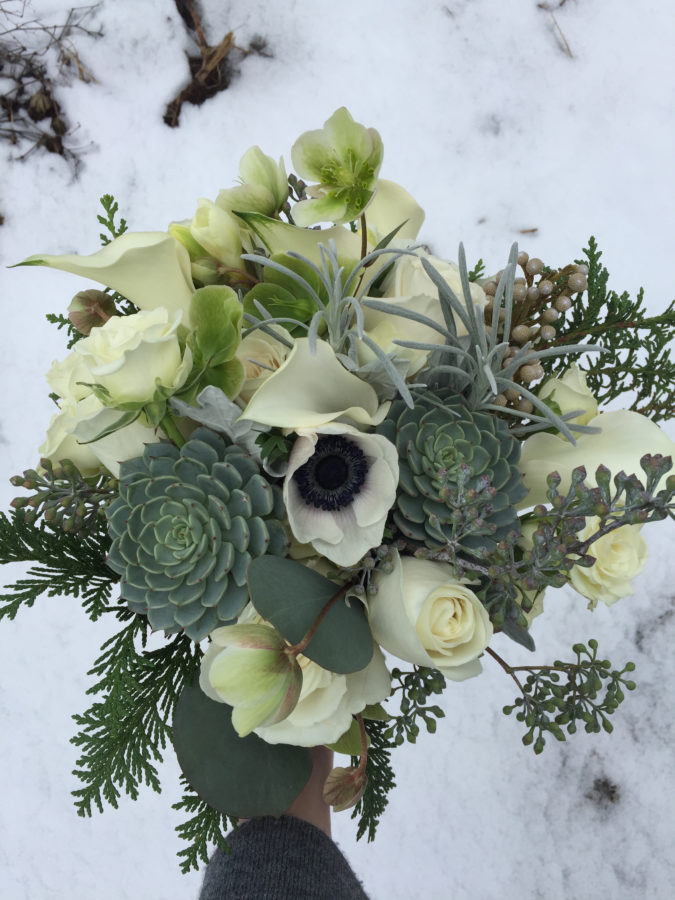
Here’s what it looks like in the bouquet…
I hope you enjoyed this quick tip! Keep doing beautiful work, floralpreneurs!
With love from me to you,
Alison